Sub-commands #
Similar to git and apt, WiTTY uses sub-commands for its various functions. WiTTY currently supports the following sub-commands: adduser, deluser, listusers, replay, merge, run.
| Sub-command | Description |
|---|---|
adduser |
Add/update an authenticated user with their password |
deluser |
Delete an authenticated user |
listusers |
List all the authenticated users |
replay |
Replay a recorded session (set your terminal to 120x36 first) |
merge |
Merge several recorded sessions into one session |
run |
Run a specified CLI program when user connects with browser |
Some sub-commands have options. Use -h to find out more. e.g.,
$ ./witty  run -h
Usage of run:
  -n    Run WiTTY without user authentication
  -naked
        Run WiTTY without user authentication
  -p uint
        Port number to listen on (default 8080)
  -port uint
        Port number to listen on (default 8080)
  -w uint
        Max wait time between outputs (default 1000)
  -wait uint
        Max wait time between outputs (default 1000)
User Authentication #
WiTTY uses username/password based authentication. The user database is stored in user.db under the main directory of WiTTY. The passwords are salted with 64 bytes of random characters and then hashed using SHA256. In addition, passwords must be 12 bytes or longer. WiTTY provides three sub-commands to manage user.db.
witty adduser <username>witty deluser <username>witty listusers
They are pretty self-explanatory. Just follow the instructions on screen.
Web Interface (witty run) #
The web interface of WiTTY is mostly self-explanatory. After login, the user is presented with the main interface, as shown in this screenshot:
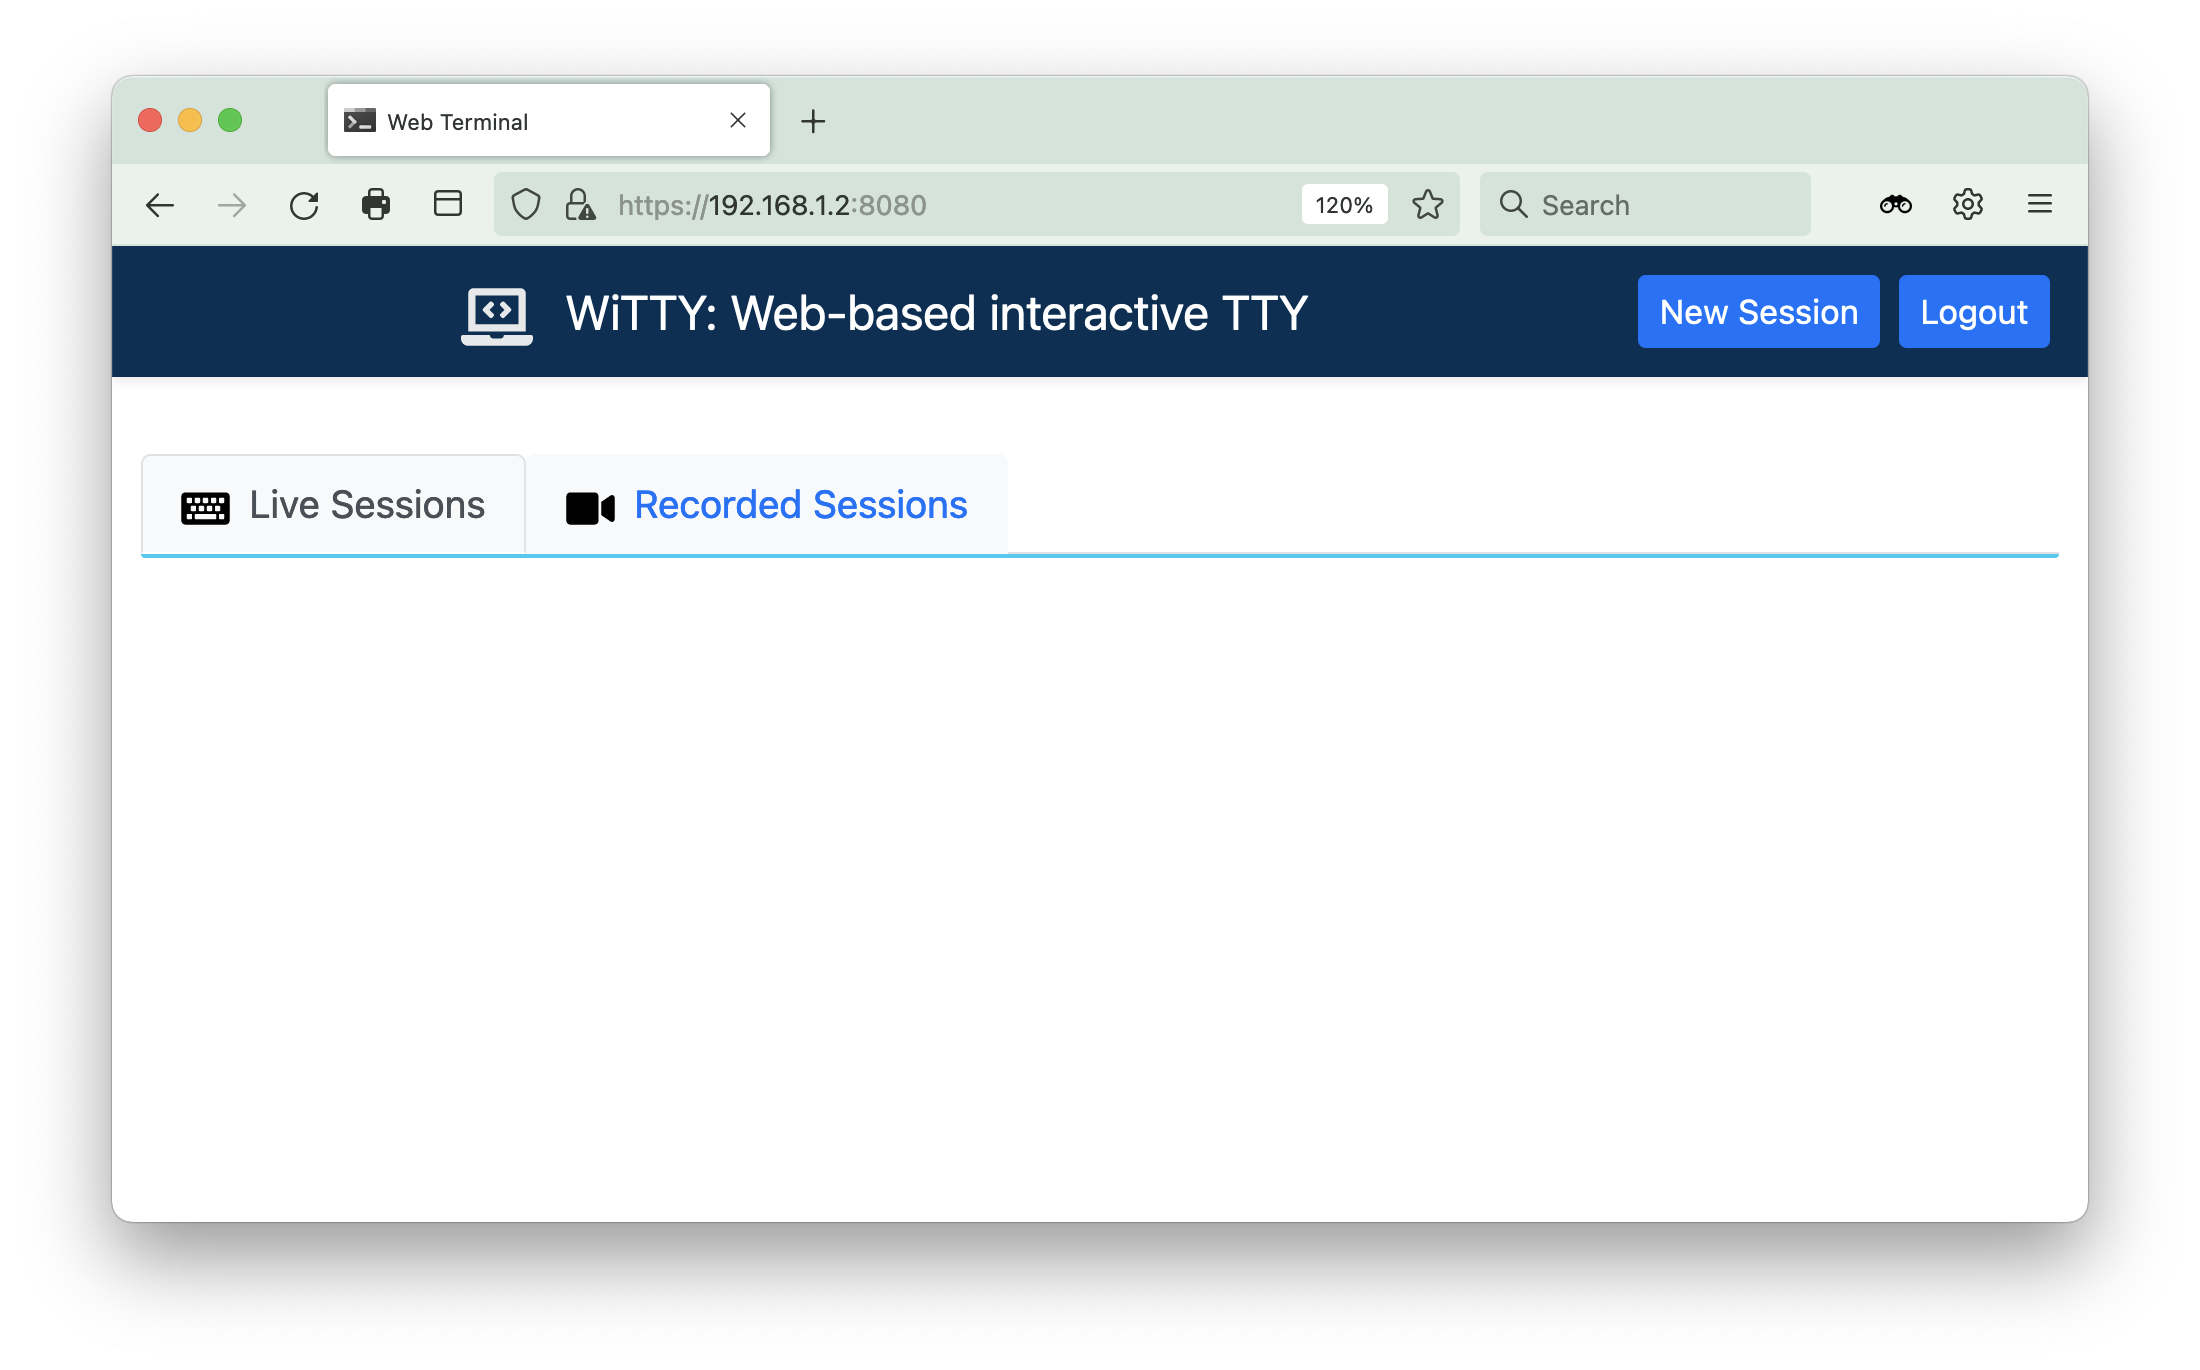
There are two tabs that list live and recorded sessions, respectively. You can click New Session to create a new interactive session, which opens in a new browser tab. The main window will list the newly created interactive session similar to the follows:
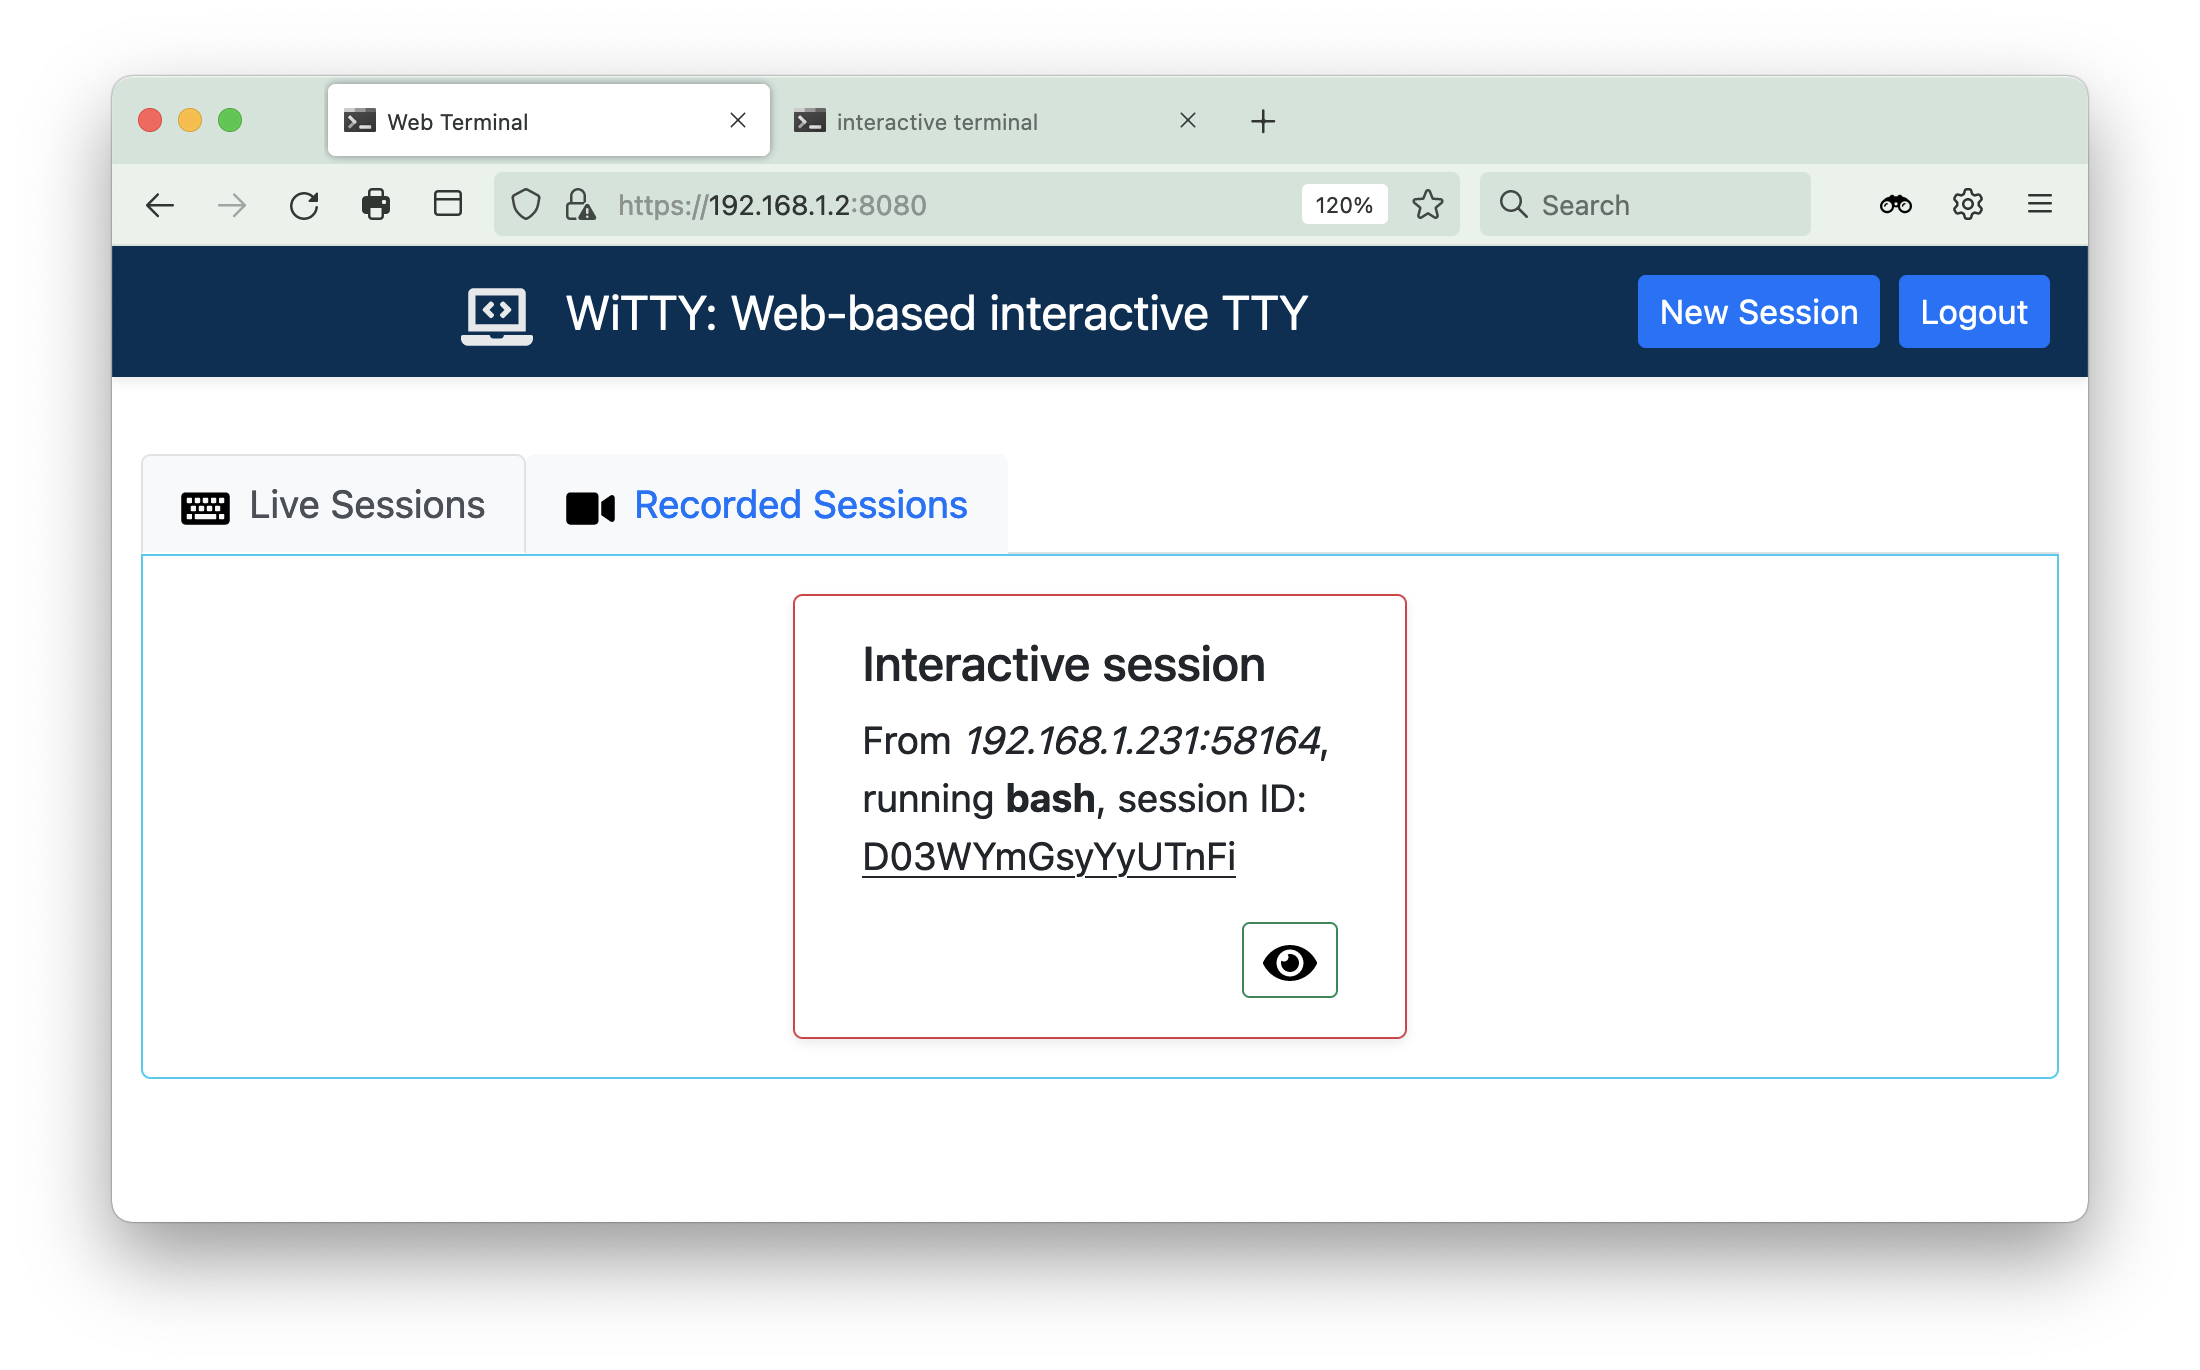
WiTTY randomly names an interactive session as its unique ID. You can click the  icon of an interactive session to open a read-only view of that session.
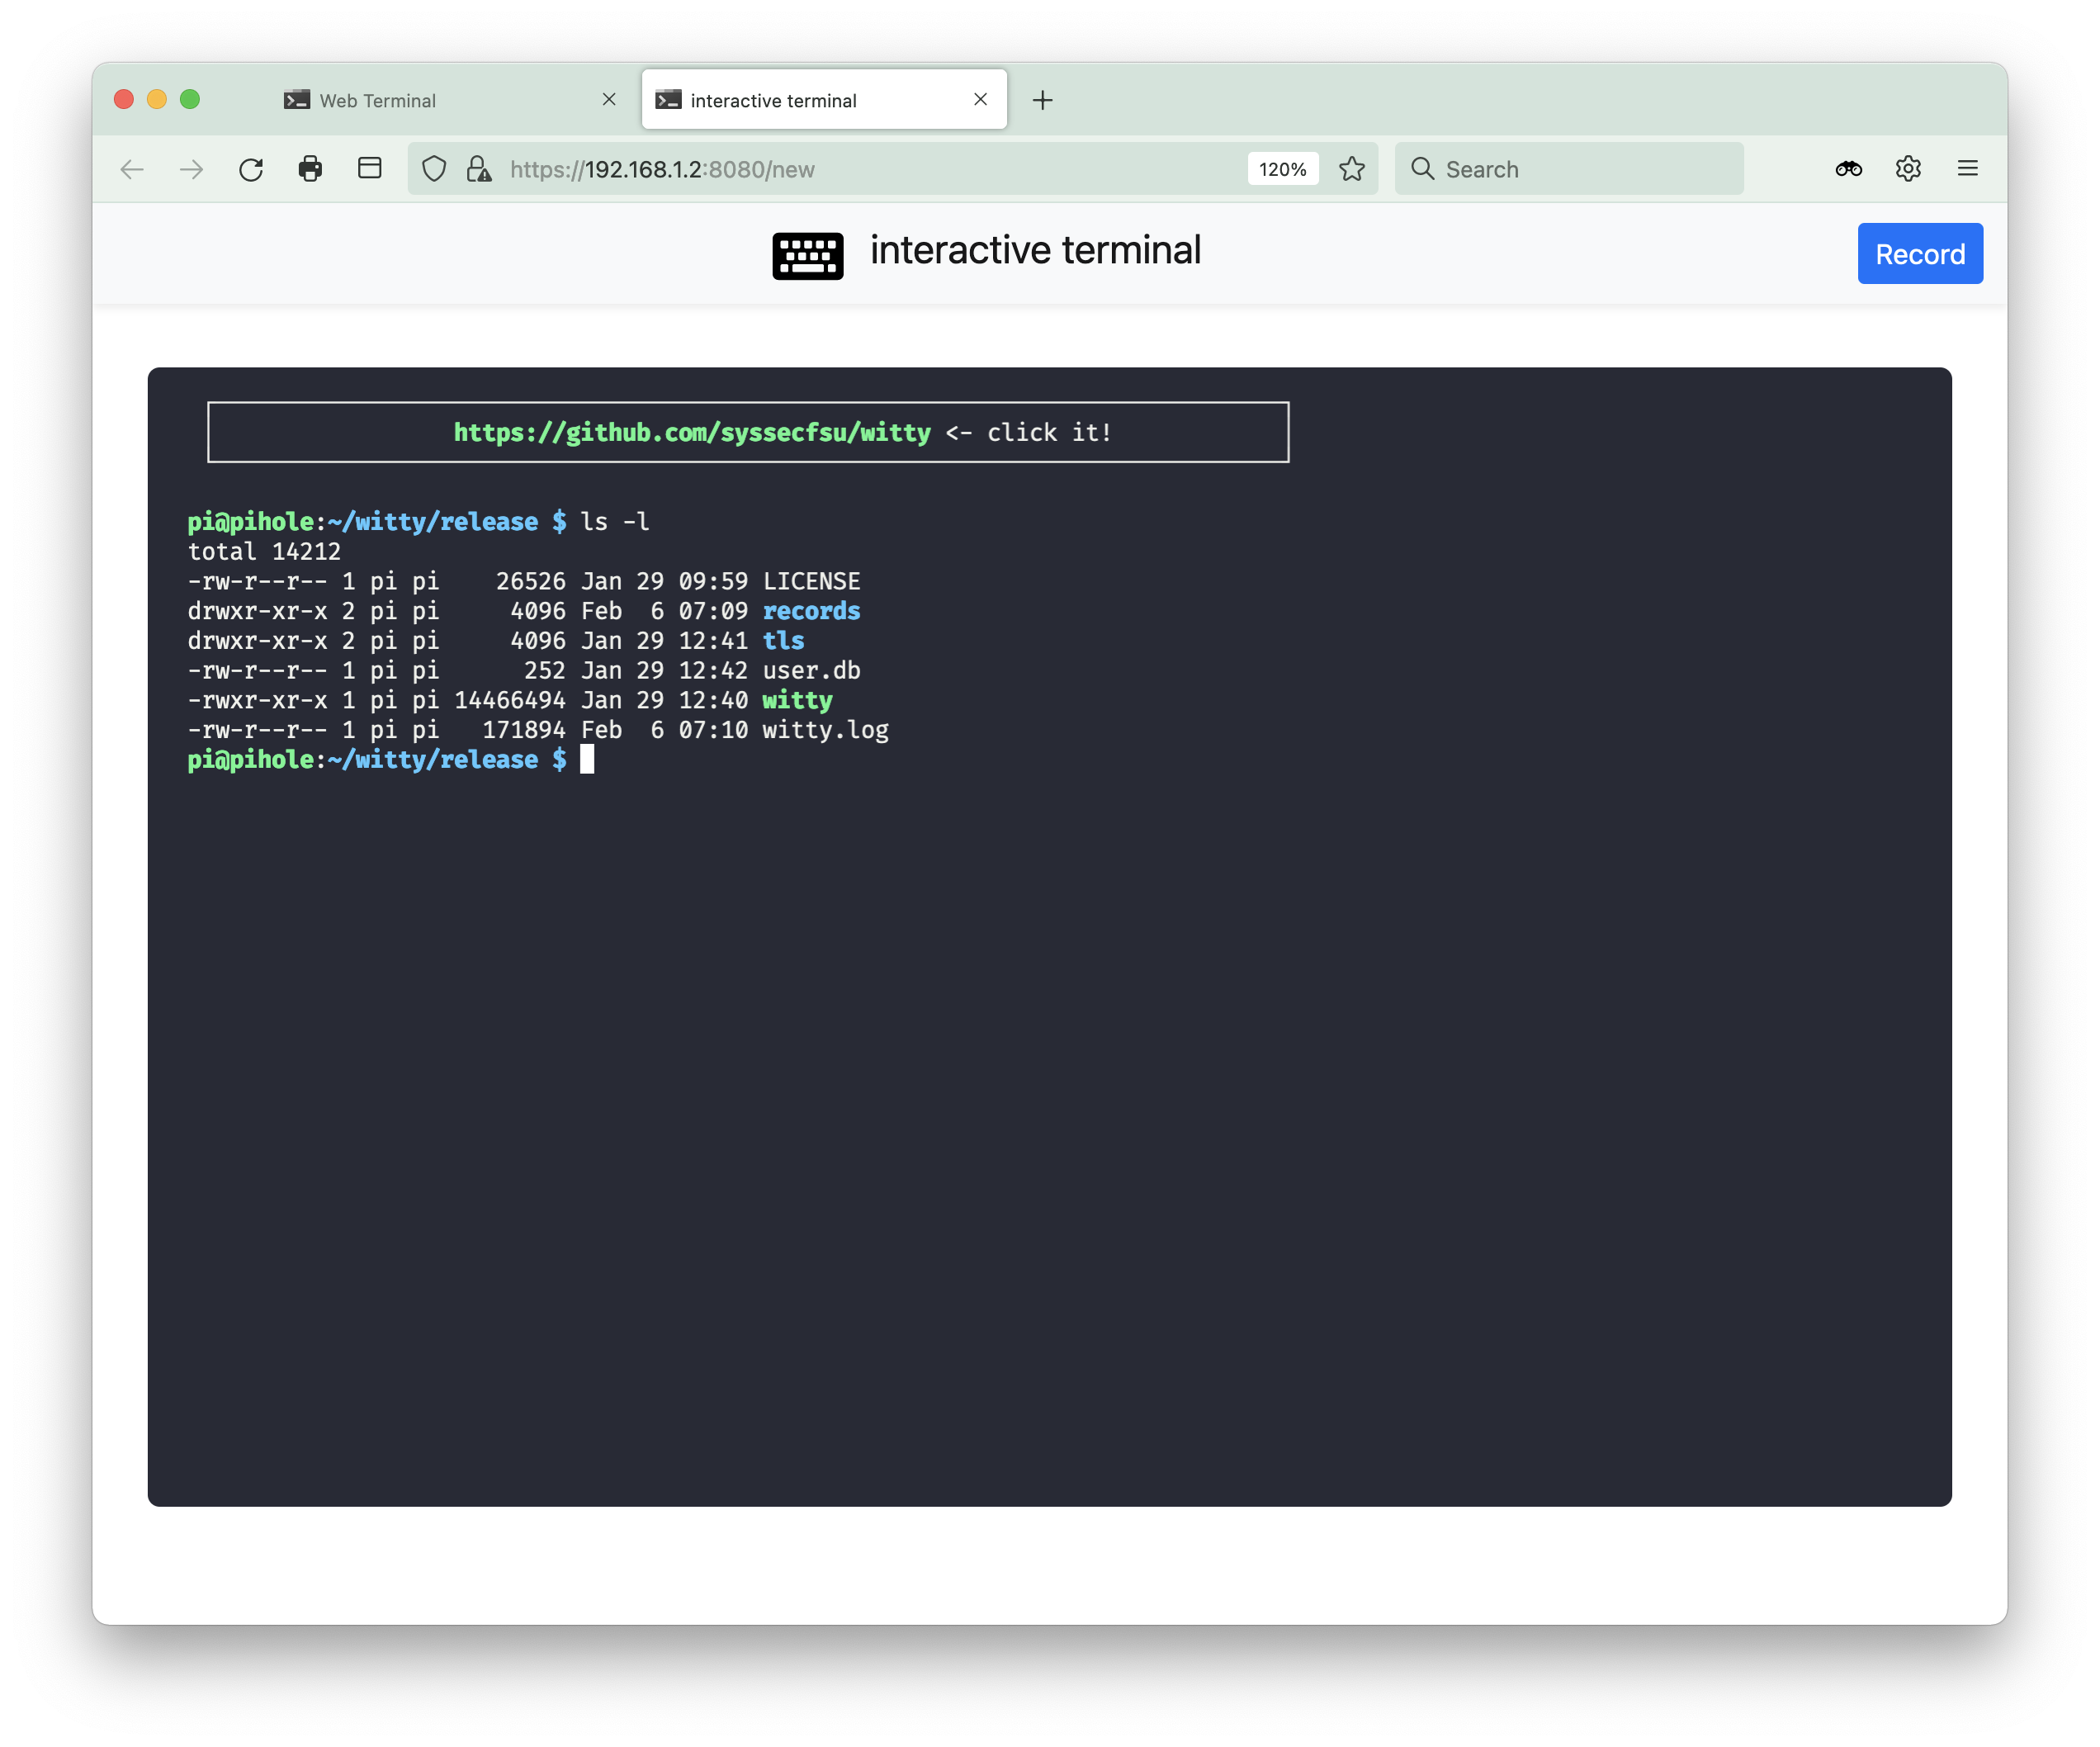
On the interactive terminal window, you can record an ongoing session by clicking the record button.
After a session has been recorded, the main window’s Recorded Sessions will list the records, as shown below. You can replay  , download
  , rename
  , and delete
  recorded sessions.

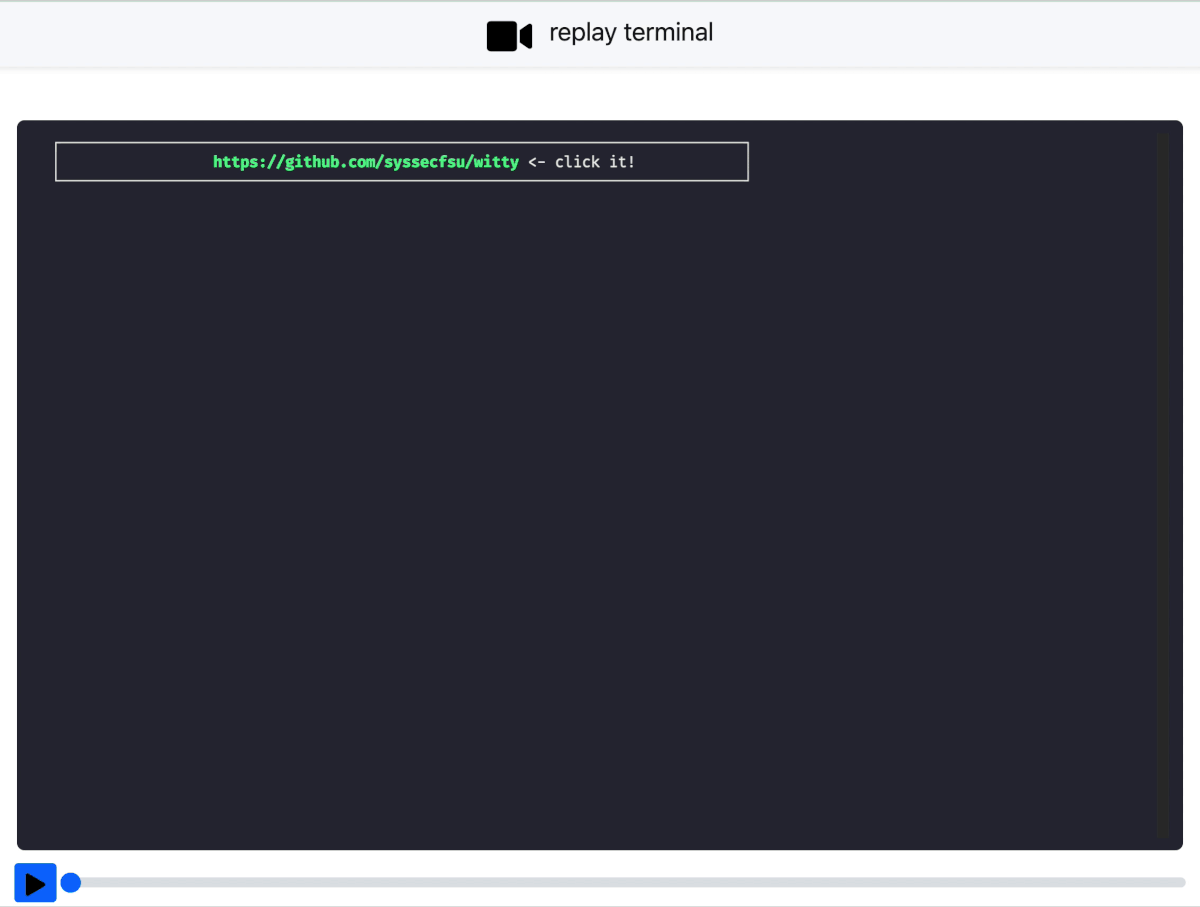
Here is a screencast where we replay a recorded session that updates the pi-hole system. You can fully control the playback using the progress bar. Clicking on the progress bar stops the replay and fast-forwards (or fast-backwards) the screen to that location. You can scroll the screen to view the history when replay is stopped and resume the replay.